

8 Steps to Spring Clean Your Playroom
As the sun emerges from behind the clouds, bird songs fill the air and lush green blossoms spring forth, it's evident that spring has arrived! And with the arrival of this vibrant season…it is time to open up the windows to our house and let all that stagnant energy flow!
Besides the closets…my favorite place to start the spring cleaning cleanse is in my kids’ playroom! Bringing a fresh perspective to the space always is invigorating to my kiddos and their excitement brings so much joy to the process as well.
So let’s jump in!
Step 1: Set your intention
Take two minutes to put your two feet on the ground, take a deep breath and decide what your intentions and goals are for your spring cleaning. Maybe it is to purge, maybe it's to just clean - take a moment to think about it and get fired up!
Step 2: Pull out all the toys!
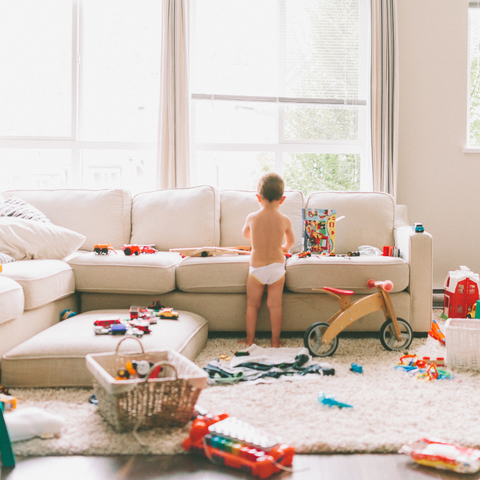
Ok so, when I clean, I make a bigger mess before the mess actually gets organized. Ask my husband, he will tell you it is the most annoying trait, but hey, gotta get dirty if you want to feel clean!
First step in all of this is to have three piles: keep, donate, trash. Now pull out those toys! Just pull them all out, out of the bins, the closets, out of the drawers, get everything to where you can see it AND as you touch each thing, decide which pile it belongs in. *pro tip, have a fourth little bucket for all those little pieces that you know belong with something... but aren't sure what!
Let’s look at what toys your children have outgrown. Do you still have a basket of baby teethers like I did… when my youngest is 18 months...yeah, BYE! Dress-up, that doesn’t fit anymore?
Put everything your children have outgrown into baskets / bags, and remove them from the room.
Now, what toys are missing pieces? Do you have toys that are missing pieces, but the kids still love them and they are functional? Great - keep them! But if you have a puzzle that is half gone, or a game that only works if you have all the pieces, it might be time to move those into those bags outside of that room.
Step 3: Re-design
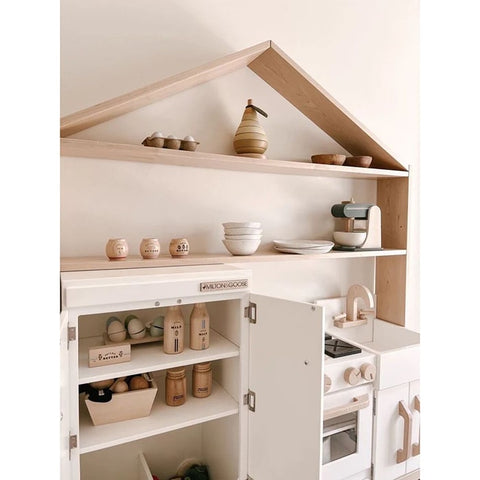
Since we already have a mess on our hands, let’s re-design our playroom a little bit! Can you move the dramatic play area to where the bookshelves are? Can you move the kitchen over to where the dress-up was? Can you move your shelves and create a nook, rather than having them against the wall? How can you make your playroom feel a little bit different so when your child enters the room, it feels like a whole new play space?
If you can, try to create what I like to call “moments” in your child’s space. Maybe the nook you created lends itself to adding a kitchen, so this area has become a space for dramatic play. And maybe you put up a full length mirror and added a clothing rack for a dress-up spot. And maybe where you moved the bookshelf is now a reading corner. Make sure to also leave space for gross motor activities (if you can!!)! Having space to climb and explore and move around, or even dance is vital. A favorite in our playroom is the Pikler Triangle Set
Step 4: Clean

Let’s just get this out of the way! You moved everything around, so let’s vacuum under those shelves, dust, wipe everything down - open up those windows! Your playroom is almost there! Give your kids a spray bottle and a washcloth, let them help clean! This activity keeps my toddler and preschooler entertained for a long time! They love to pitch in.
Step 5: Rotate and organize
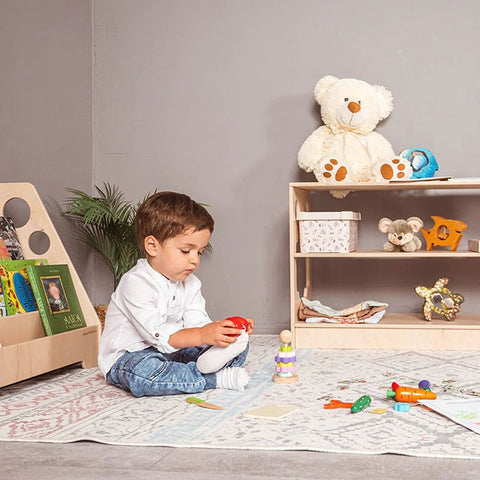 Now that you have moved your playroom around a little bit and it is clean, it is time to put the toys back. Before you put ALL the toys back, we are going to FREEZE for a minute. Now, in another article we will go in depth on creating a Montessori playroom, but for now, we will give you the down and dirty.
- Keep it simple. Montessori playrooms typically have 8-10 toys out at a time. Having a limited number of toys makes the playroom less overwhelming and gives them the ability to master an activity instead of jumping from one activity or toy to another.
- Keep things on their level. Since you are putting out fewer toys, make sure they are all accessible and on their level. This allows them to choose the activity they want and then put it back when they are done. Montessori shelves, Montessori bookshelves and Montessori furniture can help accomplish this.
- Curate your toy selection. We want to create variety in our selection, allowing your little ones to work on new skills. Also be sure to pay attention to “what they are into”. If they are very interested in sorting and patterns maybe you have a few extra toys to help them engage in this way.
- Make sure everything has its place. Children love predictability and when they can find things on their own independence is fostered. This also encourages children to clean up after themselves - WIN!
Step 6: Put the rest away
Time to put the rest away! Utilizing clear bins and organizing by type of toy is my favorite way to organize. Cars, trucks, planes and trains in one bin, dress up in another, blocks/stackers and sorting in another bin - you get the idea. Depending on your toy selection, this might look different for everyone, but if you have space to actually put these toys away so they are not accessible to your children, the next time you rotate your toys, it will feel like they are all new!
Step 7: Bless
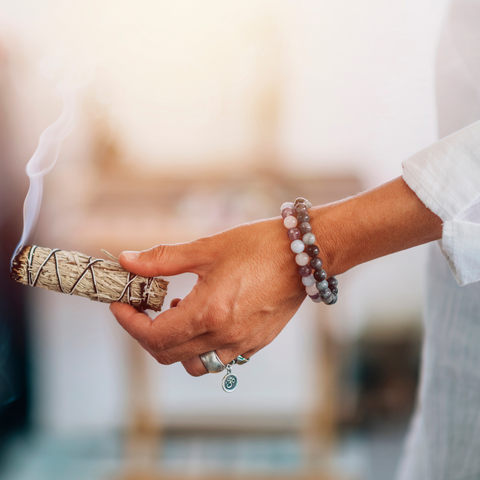 We love to clear out old energy! Maybe this isn’t your thing, and that is OK! But if you are open to a little cleansing… Let’s bring in the good vibes! First thing I like to do is open the windows. Next, firmly place your feet on the ground and take a few deep breaths to ground yourself. Then get to cleansing. You could use a sage smudge stick or even just a spray and walk to the corners of the room and bless each corner and then finally the door. I usually just say something simple like “bring love and light into this space”.
Step 8: Ideas for the leftovers
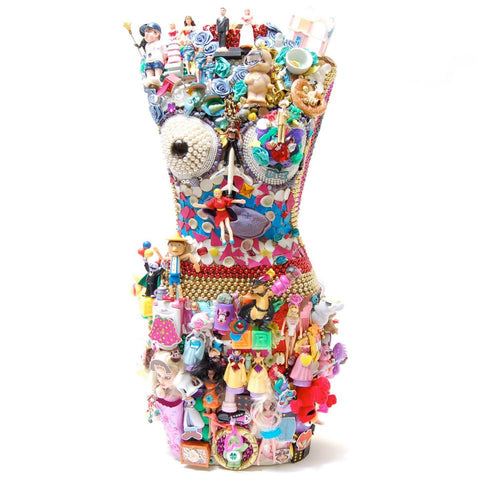
Yup, you have bags and boxes sitting outside your playroom door! For the toys that had missing pieces, can you use these for a project? Maybe you take all the puzzle pieces and let your kids paint them or use them as stamps, or maybe you take all the little toys that no longer serve you and create a piece of art! Look at this amazing piece my Mom made!
For the other things your children have outgrown; donate, donate, donate, or sell :) Here is a list of places you can donate toys to.
- Friends or family with younger children, who doesn’t love hand me downs!
- Your child’s school or daycare
- Libraries
- Churches
- Salvation Army
- Local thrift stores
Hopefully you are feeling refreshed and your playroom is full of life. We want our children’s space to be a happy place that encourages creativity and imagination. When we spring clean and get the energy flowing, anything is possible!
Leave a comment